Fire Pit Cooking: The Flavor of the Flame
Having a backyard fire pit that's set up for cooking can transform your landscaping feature into a true multi-functional gathering place.
Cooking over an open flame in a fire pit is arguably the oldest cooking method known to man. In my mind, there is nothing more therapeutic than having a fire in your backyard and letting the stress of the day blow away as you cook over the open flame. It also takes me back to my childhood, growing up in the country with multiple fire pits in the backyard. Those were some fun days with the best of friends.
I also love the primal quality of cooking over a fire pit. Obviously an open fire is harder to control than one in a grill that has been designed and perfected over time. I think of the fire pit as a “no judgement zone” when it comes to cooking — I love an overcooked hot dog or marshmallow that has been kissed by a flame for just too long. I can easily embrace the simplicity of opening up a can of beans and setting it directly in the coals to heat.
A range of possibilities
When you do want something a bit more refined than "dog" and beans, a fire pit can still fit the bill. A metal hot dog fork or other sturdy skewer can work for meat/veggie kabobs or even for small meatballs. If you add a metal grate over the pit, you can cook steak, chicken, pork, hamburgers — essentially anything that you would cook over high heat on any other grill. You can even use an enclosed grill basket to contain loose foods (usually vegetables) and hold them over the fire at a distance.
With any fire pit cooking, the key is to monitor your fire carefully, since the flames may be less predictable than in a grill and your food may be much closer to the flame.
Setting up your fire pit for success
In my backyard, I have a fire pit with a 36” diameter, with walls 26” tall. I designed my fire pit a bit larger than average, so that I could gather 6-8 friends around the pit comfortably and could have pit walls high enough to comfortably set down a drink and plate of food (or marshmallow sticks) while sitting fireside. I leveled the ground in a 72” diameter circle around the pit and used pea gravel and landscape edging bricks to define the seating area. I built it over 2 days for approximately $300.

In my pit, I primarily burn hardwood that has been seasoned (dried) for roughly two years. Wood that is not seasoned has a harder time lighting and, when it does burn, will hiss and leak moisture. The hardwoods I personally prefer are maple and poplar — because that is what my wood supplier cuts and delivers! I buy it by the truckload, since my family and I love to hang out fireside and relax. Hardwoods, because they are denser than softwoods, will also burn longer and hotter. I also have access to a lot of scrap pine (a softwood) lumber from my work shop, so I do sometimes use that to initially start the fire since it is very dry. Never burn green-treated lumber because it can release dangerous chemicals and affect your health.
Other than the optional accessories like a grill basket or portable grate mentioned above, grilling over a fire pit doesn’t really require any specialty tools. I keep it pretty simple. What I would recommend for you to have in your arsonal is a good fire poker, a couple of long roasting sticks/forks, and a good heavy pot and pan that you can dedicate to using only on the fire pit (because they tend to get a bit blackened)!
Check out Related Pages below for other backyard grill types.
My related pages: Types of Grills
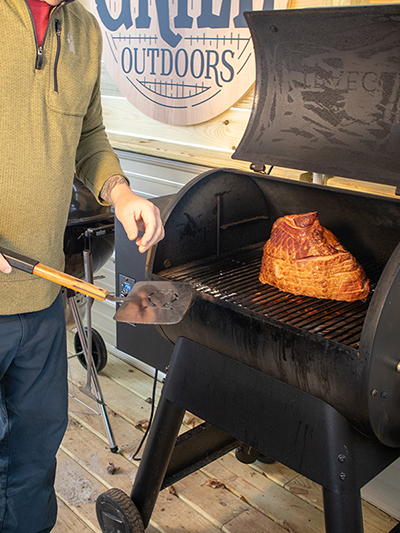
Wood Pellet Grills: Great Smoke Flavor and "Forget It" Convenience
A wood pellet grill is a great choice if you love that great smoke flavor and you want that "low and slow" tenderness without the work of tending a fire all day.
Kettle Grills: What I Like and Why
Kettle grills, often considered the "classic American grills," have straightforward features for basic cooking needs and come in a variety of sizes.
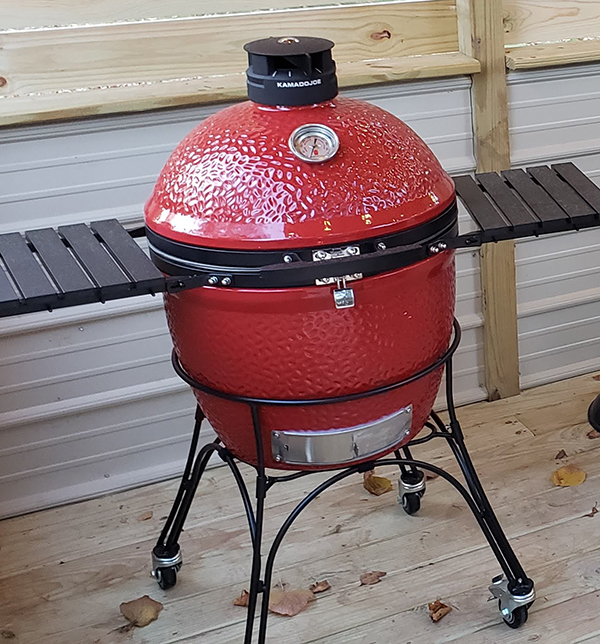
Kamado Grills: What Are They and What Makes Them Great?
The kamado grill is based on ceramic cooking vessels that date back 3,000 years, but the flashy modern Kamado Joe and Big Green Egg rely on the same principles as their predecessors.
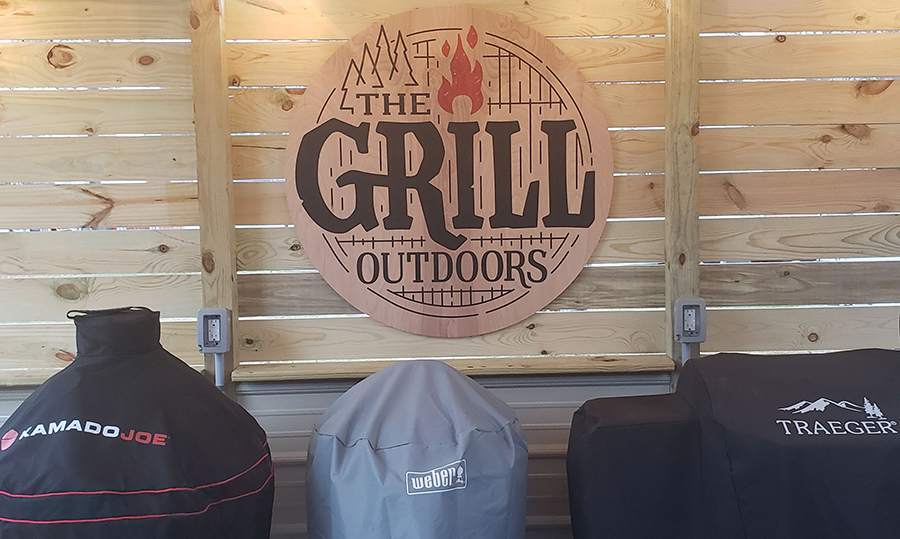
Comparing Backyard Grill Types
Wood pellet smokers, charcoal kettle grills, ceramic "egg" grills... It's hard to know which backyard grill is right for you. Don't spend money on a trendy option that doesn't suit your needs.

- Home
- Types of Backyard Grills
- Fire Pit

What's New
-
Backyard Game Design Plans
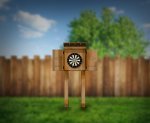 Backyard games are great for quality time with friends and family, but so many are flimsy or disappointing! Build a custom set that you know will last!
 -
Backyard Design: Build Your Fire Pit, Grill Shack or Grillscape & More
Deciding on and creating a great backyard design is not out of reach! As a theater designer and outdoor cooking lover, I can help you design within your budget and vision. -
Grilling Books, Cookware & Extras
 Beyond the basics: Check out my latest favorite grilling books, cookware, and extras to step-up your backyard design or grillscape.
Visit The Grill Outdoors YouTube channel HERE